What is Vermicompost – Its Use & Benefits

What is Vermicompost
Vermicompost 101: Benefits, Uses & How to Make Worm Castings
Have you ever stared at a overflowing compost bin and wished there was a faster, more efficient way to turn your kitchen scraps into plant gold?
Well, fear not fellow gardener, because vermicomposting offers a solution that’s as fascinating as it is beneficial! This eco-friendly technique harnesses the power of earthworms to transform organic waste into a nutrient-rich fertilizer known as vermicompost.
Unveiling Vermicompost: Worm Castings for Thriving Plants
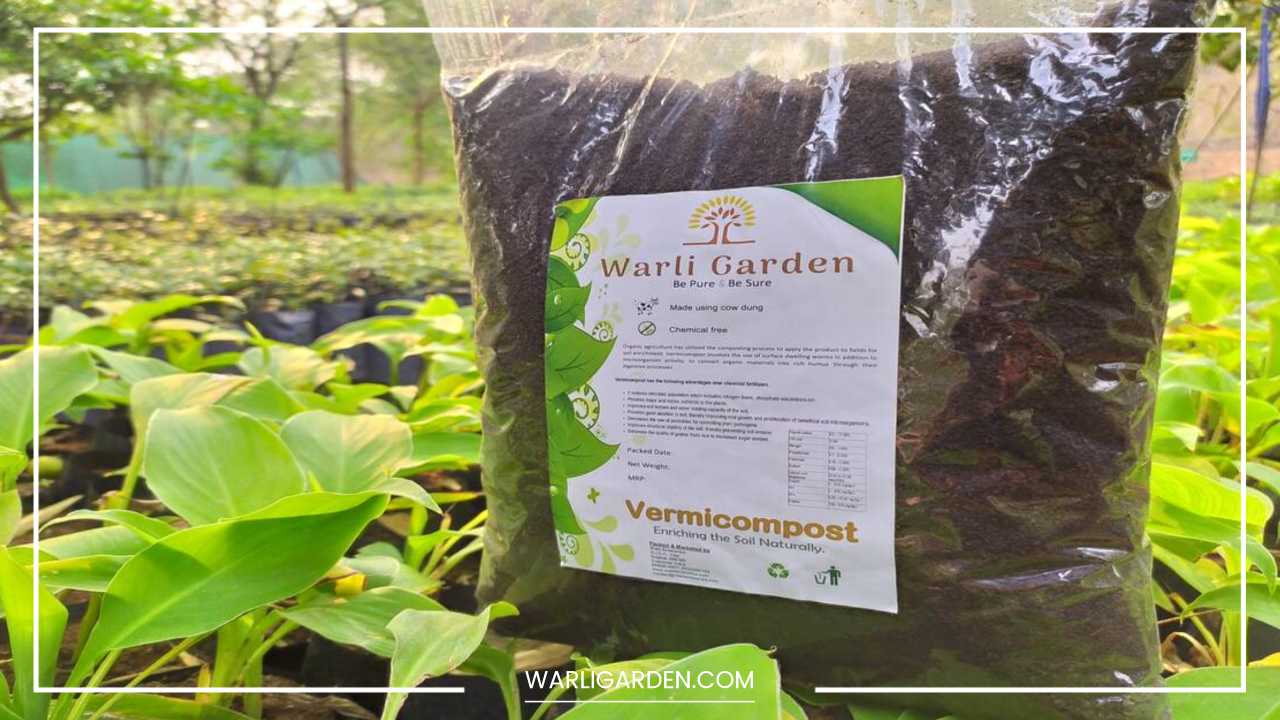
Vermicompost, also lovingly referred to as worm castings, is the end product of earthworms munching their way through organic matter.
Unlike traditional compost, vermicomposting involves these little composting champions actively breaking down the materials.
This results in a faster decomposition process and a superior quality product with a unique consistency and structure.
Here’s a closer look at vermicompost compared to traditional compost:
-
Breakdown Speed: Vermicomposting boasts a significantly faster decomposition rate than traditional composting. Worms can process organic matter in a matter of months, compared to traditional compost piles that can take anywhere from six months to a year to fully mature.
-
Nutrient Content: While both traditional compost and vermicompost offer plant benefits, vermicompost packs a more potent nutritional punch. Studies have shown that vermicompost can contain five times more nitrogen, seven times more phosphorus, and eleven times more potassium than regular soil.
-
Physical Properties: Vermicompost has a finer texture and more crumbly structure compared to traditional compost. This allows for better aeration and drainage in the soil, promoting healthy root development for your plants.
-
Odor and Pest Control: Vermicomposting is known for its minimal odor production. When managed properly, a vermicomposting bin shouldn’t generate any unpleasant smells. Additionally, the controlled environment discourages pests like flies and rodents, often attracted to traditional compost piles.
The Power of Worms: Unveiling the Benefits of Vermicomposting
Vermicompost boasts a multitude of benefits for both your plants and the environment. Here’s a deeper dive into why you should consider incorporating vermicomposting into your gardening routine:
-
Enhanced Plant Growth and Yield: The readily available nutrients in vermicompost provide a significant boost to plant growth and overall health. Plants treated with vermicompost often exhibit stronger stems, deeper green foliage, and increased flower and fruit production.
-
Improved Soil Structure: Vermicompost acts as a natural soil conditioner. It improves soil aeration by creating channels that allow for better air circulation. Additionally, vermicompost enhances drainage by promoting the formation of aggregates, which are clusters of soil particles that create space for water to flow through without causing waterlogging.
-
Thriving Microbiome: Vermicompost fosters a thriving microbial community within the soil. These beneficial microbes play a crucial role in nutrient cycling, making essential nutrients more readily available for plants. They also help suppress harmful pathogens, promoting overall plant health and disease resistance.
-
Seedling Success: The gentle nature of vermicompost makes it an ideal medium for seed germination and seedling growth. Its fine texture provides optimal conditions for root development, while the balanced nutrient profile ensures seedlings have the necessary resources to establish themselves and thrive.
-
Reduced Watering Needs: Vermicompost’s exceptional water-holding capacity helps your soil retain moisture more effectively. This translates to less frequent watering needs, conserving water and reducing your overall gardening workload. This benefit is particularly valuable in regions experiencing drought or water restrictions.
-
Disease Suppression Power: Research suggests that vermicompost can help suppress certain soil-borne plant diseases. The microbial activity in vermicompost can create an environment that discourages the growth of harmful pathogens, promoting overall plant health. While not a complete replacement for disease control measures, vermicompost can be a valuable tool in your organic gardening strategy.
-
Reduced Environmental Impact: Vermicomposting offers a sustainable way to manage your kitchen scraps. Instead of sending them to landfill, where they decompose anaerobically releasing harmful methane gas, you can divert them to your worm bin. This process transforms waste into a valuable resource for your garden, promoting a more closed-loop system and reducing your overall environmental footprint.
Vermicomposting 101: Getting Started with Worm Power
Now that you’re excited about the magic of vermicompost, let’s delve into how you can set up your own vermicomposting system. Here’s a comprehensive guide to get you started:
1. The Worm Bin
There are various options for your worm bin, from purchasing a pre-made system to repurposing a plastic storage container. Here are some key considerations when choosing your bin:
-
Size: The size of your bin will depend on the amount of organic waste you plan to compost and the number of worms you intend to keep. A good rule of thumb is to allow for 1 square foot of bin surface area per pound of worms. For a beginner, a small to medium-sized bin (around 18-25 gallons) is a good starting point.
-
Material: Plastic bins are popular choices due to their affordability and durability. Ensure the plastic is BPA-free and avoid using any containers that previously held harmful chemicals. Wooden bins can also be used, but require proper ventilation and moisture management to prevent rot.
-
Ventilation: Adequate ventilation is crucial for healthy worm activity. Look for bins with built-in ventilation holes or drill small holes in the sides and lid of your container. Cover the holes with breathable mesh like window screen to prevent pests from entering.
-
Drainage: Excess moisture can be detrimental to worms. Choose a bin with a drainage tap at the bottom or create small drainage holes. Place the bin on an elevated surface like a tray filled with gravel to allow for proper drainage and prevent the bin from sitting in accumulated liquid.
2. Bedding for Your Busy Worms:
Worms need a comfortable home! Shredded newspaper, cardboard, or other organic materials like leaves can be used as bedding. The bedding provides moisture, shelter, and food for the worms as they break down organic matter. Here are some tips for preparing the bedding:
-
Shredding is Key: Shred your chosen bedding materials into small pieces (around 1-2 inch strips) to maximize surface area for worm activity and decomposition.
-
Moisture Matters: The bedding should be damp but not soggy. Aim for a consistency similar to a well-wrung sponge. You can test the moisture by squeezing a handful of bedding material. If water drips out, it’s too wet. If it crumbles but feels dry to the touch, it needs more moisture.
-
Variety is Good: While shredded paper is a common choice, consider incorporating a mix of brown and green materials for the bedding. Brown materials like shredded cardboard provide carbon, while green materials like leaves offer nitrogen. This creates a balanced environment for the worms.
3. Selecting Your Worm Crew:
Red wigglers (Eisenia fetida) are the most popular choice for vermicomposting. They are prolific eaters and decompose organic matter efficiently.
You can purchase red wigglers online or from some gardening stores. Here are some factors to consider when choosing your worms:
-
Quantity: The number of worms you need will depend on the size of your bin and the amount of food waste you plan to add. A general guideline is to start with 1 pound of worms for every square foot of bin surface area.
-
Worm Health: Choose healthy, active worms. Look for worms that are reddish-brown in color and move quickly when handled. Avoid worms that are pale or sluggish, as this could indicate illness.
4. Feeding Your Worms:
Kitchen scraps like vegetable peels, fruit cores, eggshells, and coffee grounds are a treat for your worms. Here are some key points to remember when feeding your worms:
-
Variety is Key: Offer your worms a diverse diet of organic materials. Avoid feeding them greasy foods, meat products, or dairy products, as these can attract unwanted pests or create odors.
-
Chop it Up: Chop your scraps into smaller pieces to aid decomposition and prevent the worms from struggling to consume them.
-
Moderation is Key: Don’t overload your bin with food scraps. Start with a small amount and gradually increase as the worm population grows and processes the existing food. Ideally, the food scraps should be consumed within a week or two to prevent them from decomposing anaerobically and creating odors.
-
Location Matters: Place the food scraps on one side of the bin and cover them with a thin layer of bedding. This encourages the worms to migrate towards the fresh food source and helps prevent flies from laying eggs on the exposed food scraps.
5. Maintaining the Perfect Worm Habitat:
Moisture is key! Maintain a damp but not soggy environment for your worms. Here are some tips for moisture management:
-
Monitoring Moisture Levels: Regularly check the moisture content of your bedding. You can use your hand or a moisture meter to assess the dampness.
-
Adjusting Moisture: If the bedding feels dry, add a small amount of water and distribute it evenly throughout the bin. If it feels too wet, add more dry bedding material to absorb excess moisture.
-
Temperature Matters: Worms thrive in temperatures between 15-25°C (59-77°F). Avoid placing your bin in direct sunlight, as this can cause temperatures to rise above optimal levels and stress the worms. Locate your bin in a cool, shaded area with consistent temperatures.
-
Lid on Tight: Keep the lid on your bin securely fastened to prevent moisture from escaping and unwanted pests from entering.
6. Harvesting the Vermicompost Treasure:
After a few months, the bedding and food scraps will be transformed into beautiful vermicompost. You can harvest the finished compost by separating it from the worms. Here are a couple of methods for harvesting vermicompost:
-
The Migration Method: This method utilizes the worms’ natural aversion to light. Introduce fresh food scraps on one side of the bin. Over time, the worms will migrate towards the new food source, leaving behind finished castings in the other half of the bin. You can then remove the finished compost and replace the bedding on that side before adding the worm castings back to the bin.
-
The Sifting Method: Spread out the bin contents on a large tarp or sheet. Using a hardware cloth with a mesh size slightly larger than the worms, sift the vermicompost from the remaining bedding material. The worms will wriggle through the mesh and return to the bin, while the finished compost remains behind. You can then replenish the bedding in the bin and add the worms back in.
7. Using Vermicompost in Your Garden:
Vermicompost is a fantastic addition to your garden beds, container plants, and seed starting mixes. Here’s how to use it effectively:
-
Direct Application: Vermicompost can be directly applied to the soil around your plants as a top dressing or mixed into the soil before planting. A general recommendation is to use 1 cup of vermicompost per square foot of planting area.
-
Seed Starting Magic: Vermicompost is an excellent medium for seed starting. Its fine texture and balanced nutrients create the perfect environment for seeds to germinate and seedlings to develop strong root systems. Mix vermicompost with some additional potting mix to create a well-aerated seed starting mix.
-
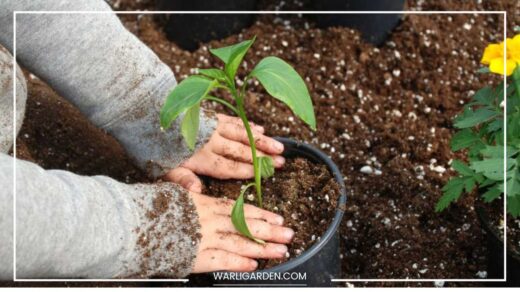
Potting Powerhouse: Vermicompost can be incorporated into your potting mix for container plants. A good ratio is to mix 1 part vermicompost with 3 parts potting mix. This will provide your container plants with a sustained source of nutrients and improve water retention.
8. Troubleshooting Common Vermicomposting Issues:
Vermicomposting is a relatively low-maintenance process, but occasional issues can arise. Here are some common problems and solutions:
-
Fruit Fly Infestation: Fruit flies can be attracted to exposed food scraps in your bin. To prevent this, ensure you bury food scraps under a thin layer of bedding and avoid overfeeding your worms. You can also place a trap with apple cider vinegar near the bin to attract and capture the flies.
-
** неприятный запах (nepriyatnyy zapach – unpleasant odor):** неприятный запах (odors) can indicate overfeeding, improper moisture levels, or the presence of unsuitable food scraps. Ensure you’re adding food scraps in moderation, maintain proper moisture levels, and avoid feeding the worms meat, dairy, or greasy foods.
-
Worm Die-Off: Sudden worm die-off can be caused by various factors like extreme temperatures, excessive moisture, or lack of food. Regularly monitor the conditions in your bin and adjust them as needed. If you experience significant worm die-off, it’s best to restart your vermicomposting system.
Final Thoughts:
Vermicomposting is a rewarding and environmentally friendly way to turn kitchen scraps into a valuable fertilizer for your garden.
By following these guidelines, you can establish a thriving worm bin and enjoy the numerous benefits of vermicompost. With a little patience and care, you’ll be well on your way to creating nutrient-rich, black gold for your plants!


